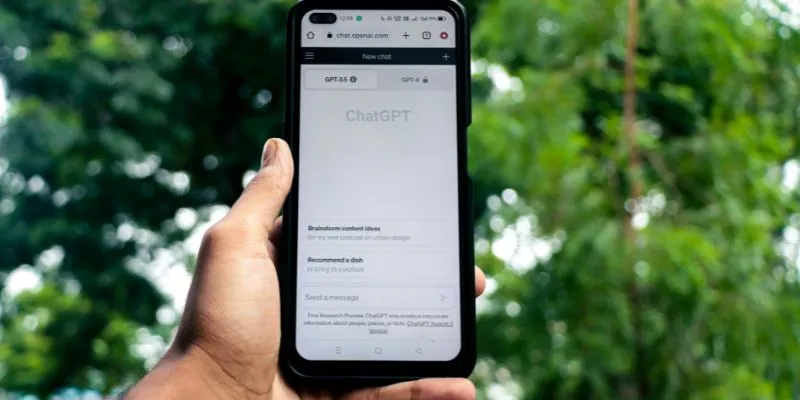
Artificial intelligence plays a pivotal role in our modern world, with OpenAI at the forefront, enabling developers to integrate AI capabilities into their applications. Whether you’re building a chatbot with GPT, generating images with DALL·E, or transcribing speech using Whisper, OpenAI’s robust APIs make it all possible.
To embark on this AI journey, you need a crucial element—a valid OpenAI API key along with credits in your account. This comprehensive guide will walk you through the updated 2025 process for generating your API key , setting up your environment, and funding your account, empowering you to confidently utilize OpenAI’s services.
Understanding the OpenAI API Key
An API key is a unique string of characters that serves as a digital passport, identifying your application and granting it access to OpenAI’s tools and models. Each time your app sends a request to OpenAI, it uses this key for authentication. Without it, interaction with the API is impossible. Moreover, to use the key effectively, you must add credits to your account, as OpenAI APIs are chargeable and each API call deducts credits based on usage.
Step-by-Step Guide: How to Generate Your OpenAI API Key

Generating an API key is straightforward but involves specific steps. Let’s explore them one by one.
Step 1: Sign Up or Log In to the OpenAI Platform
Visit the OpenAI Developer Platform. You can either log in using your credentials or create a new account.
If you’re signing up for the first time, provide:
- Your Organization Name – This can be your actual organization name or even just your first name.
- Your Date of Birth – Used for age verification and personalization.
After submission, you’ll be directed to the OpenAI dashboard, where your journey begins.
Step 2: Create a New Project
OpenAI uses a “project” system to organize API keys, access control, and billing, functioning like folders to group your usage and resources.
To create a project:
- Click on the “Default project” dropdown in the top-left corner.
- Select “Create project” from the dropdown.
- Name your project something relevant, such as “AI Chatbot”, “Voice Assistant”, or “Test Project”.
Once created, select that project from the list. All your API keys and billing info will be associated with this project.
Step 3: Verify Your Phone Number
If you’re a new user, OpenAI requires phone number verification before generating any API key.
To verify:
- Navigate to Dashboard > API Keys.
- Click on “Start Verification”.
- Enter your phone number and confirm it by typing in the OTP (One-Time Password) received via SMS.
Phone verification enhances security and helps prevent platform abuse.
Step 4: Create Your API Key
With your account verified and project active, you can now generate your first API key.
Here’s how:
- Go to the API Keys section under your project.
- Click “Create new secret key”.
- Name your key for easier management, like “Backend Key” or “Dev Testing”.
- Link the key to the appropriate project.
- Adjust permissions if necessary, though default settings suffice for most users.
Once you hit Create, your API key will be displayed.
Important:
You will see the key only once. Store it securely in a password manager. If
lost, you must create a new one.
Types of API Keys You Can Generate

OpenAI offers two types of API keys :
- Personal API Key – Linked directly to your user account. It becomes invalid if your account is deleted.
- Service Account Key – Ideal for automated or production systems. This key remains active even if the user account is removed.
Select the type that suits your needs. For personal experimentation, a personal key is sufficient. For production environments, opt for a service account key.
How to Add Credits to Your OpenAI Account
Your API key is ready, but you cannot use it without credits. OpenAI is a paid service, and every token processed incurs a cost. Here’s how to add credits:
Step 1: Open the Billing Settings
On the dashboard, click Settings > Billing. This section shows:
- Your current credit balance (initially $0 if you’re new).
- Your payment history.
- Options to add new payment methods.
Step 2: Enter Payment Information
Click “Add payment details”. You’ll be prompted to provide:
- Your credit or debit card information
- Your billing address
After inputting the details, click Continue to proceed.
Step 3: Choose Your Credit Amount
Select the amount of credit to add. The minimum is typically $5, with options like $10, $20, $50, or $100.
OpenAI also offers an auto-recharge option, meaning:
- If your balance falls below a certain threshold (e.g., $10),
- Your account can be automatically recharged with a set amount (e.g., $25 or $50).
Once your payment is processed, your dashboard will reflect the new balance, and your account will be ready for API requests.
Conclusion
And there you have it—you now know how to generate an OpenAI API key, verify your account, and add credits to start building with AI. From chatbots and image generators to automated workflows and data analysis, the possibilities are endless once your API is operational. With credits added and limits configured, you can innovate without the fear of accidental overuse or unexpected charges.
OpenAI places the power of next-generation AI at your fingertips—all you need is the right setup to access it. Whether you’re a solo developer, a student, or an enterprise innovator, this key unlocks the door to some of today’s most advanced technology.
 zfn9
zfn9

