zfn9
zfn9
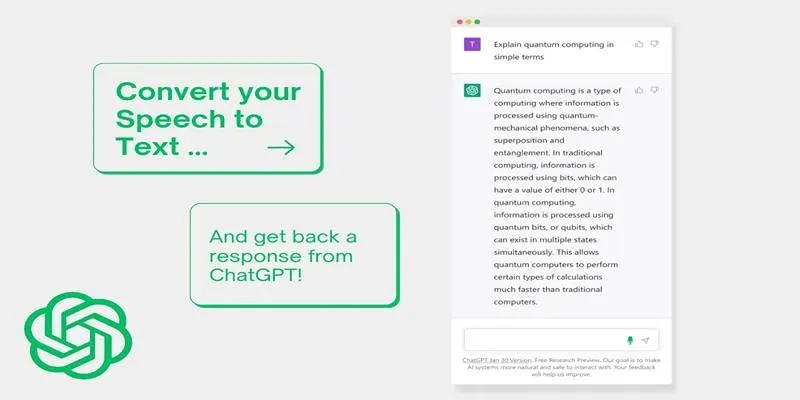
Artificial intelligence has evolved rapidly, and among its most notable developments is ChatGPT—a language model that has transformed how people interact with technology. From casual conversations to assisting in coding and content creation, it offers a wide range of capabilities. However, one limitation remains: the model’s default knowledge is fixed to a cutoff date and cannot retain or recall personalized user data. This restricts its usefulness in situations requiring up-to-date information or private, proprietary content.
To overcome these constraints, users can build a custom version of ChatGPT that integrates their data. Using OpenAI’s API in conjunction with tools like LangChain and local vector databases, anyone can deploy a customized AI assistant. This tailored solution enables responses based not only on the pre- trained knowledge of ChatGPT but also on any dataset provided by the user. This post outlines a practical, step-by-step guide for setting up a custom ChatGPT on a local machine.
Step-by-Step Guide to Building a Custom ChatGPT Instance
Creating a personalized version of ChatGPT involves integrating your data with OpenAI’s language model using a local environment. The following step-by- step instructions walk through the complete setup process—from installing necessary tools to querying your custom data. These steps ensure that your AI assistant is capable of understanding and responding with domain-specific, private, and up-to-date information.
Step 1: Set Up the Necessary Tools
To begin, the system must have a few core components installed. These tools are essential for setting up the development environment, particularly on a Windows 10 or Windows 11 system.
Required Installations:
- Python 3 : Make sure to enable the “Add to PATH” option during installation.
- Git : Useful for downloading repositories and managing version control.
- Microsoft C++ Build Tools : Necessary for compiling Python dependencies, these tools can be installed through the Visual Studio Build Tools package.
All tools should be updated to their latest versions to avoid compatibility issues. After installation, restart the system to ensure all dependencies are recognized.
Step 2: Clone or Download a Project Template
A Python-based template script must be downloaded to serve as the foundation for the custom ChatGPT setup. This script handles the ingestion, processing, and querying of custom files.
Users should locate a reliable project repository that supports OpenAI API and LangChain integration. It is advised to avoid copying commands directly from third-party sources. Instead, downloading the project as a ZIP and extracting it locally ensures safe and offline customization.
After extraction, locate the root folder of the project—commonly named something like chatgpt-retrieval or similar. It is where the environment will be initialized.
Step 3: Install Required Python Libraries

The next step involves installing Python packages that enable the script to function as an intelligent data retrieval assistant. These libraries are essential:
pip install langchain openai chromadb tiktoken unstructured
- LangChain is a framework that manages how language models interact with external data.
- OpenAI allows access to ChatGPT models via an API.
- ChromaDB serves as a vector store for storing and retrieving document embeddings.
- Tiktoken helps tokenize content efficiently, managing token usage for cost control.
- Unstructured processes and extracts text from different file formats like PDF, DOCX, or HTML.
This installation process sets the technical groundwork for managing and querying custom data files.
Step 4: Configure the OpenAI API Key
Access to the ChatGPT model is facilitated via the OpenAI API, which requires an API key:
- Log in to the OpenAI platform and navigate to the API section.
- Create a new secret key and copy it. This key won’t be retrievable again for security purposes.
- Open the environment configuration file within the project folder. Depending on the setup, this may be named .env, config.py, or constants.py.
- Replace the placeholder string with the actual API key and save the file.
This step authorizes the script to communicate with OpenAI’s servers securely.
Step 5: Add Custom Data for Contextual Responses
To personalize ChatGPT’s responses, users must place their documents into a dedicated folder inside the project—usually labeled data.
Supported file formats generally include:
- .txt for plain text
- .pdf for scanned documents or reports
- .docx for formatted content like manuals or proposals
Each file is parsed and broken into manageable text chunks. These are then converted into numerical vectors that represent the meaning and context of the content. The Chroma vector store indexes this data, allowing for rapid retrieval during question answering.
Organizing documents clearly, naming them appropriately, and ensuring they contain clean, structured language will enhance the model’s accuracy.
Step 6: Start Querying the Custom ChatGPT
With everything in place, the user can now launch the chatbot script from the terminal. Although the exact command may vary depending on the script, a typical example would be:
python chatgpt.py
After launching, users can input questions directly into the terminal. The script retrieves the most relevant information from the custom data, forwards it to the OpenAI API along with the question, and returns a precise answer.
This interaction mimics a conversational flow but is grounded in the user’s private dataset. It combines the language capabilities of GPT with the specificity of local knowledge.
Security and Cost Considerations

While building a custom ChatGPT instance, users must be mindful of a few factors:
- API Usage Limits : OpenAI charges based on the number of tokens used, which includes both prompts and responses. Efficient token management is crucial.
- Data Confidentiality : While local processing minimizes risk, the OpenAI API still processes data. Sensitive information should be handled cautiously.
- Performance Optimization : Indexing fewer but high-quality documents leads to faster retrieval and better responses.
Conclusion
Deploying a custom ChatGPT using personal data offers a transformative way to harness AI for specialized tasks. Whether it’s for internal business documentation, industry-specific queries, or up-to-date event analysis, integrating tools like LangChain and Chroma with OpenAI’s API can unlock ChatGPT’s full potential. This approach moves beyond generic interaction and delivers context-aware, personalized, and secure AI responses—bringing real value to professionals, enterprises, and innovators.