Running your own AI chatbot might sound like something reserved for big tech labs or cloud giants. But what if you could do it yourself, right from your own setup, with just a single GPU? Yes, it’s possible, and yes, it works. With the help of ROCm, AMD’s open software stack, you can bring large language models to life without needing a warehouse full of hardware.
But let’s not get ahead of ourselves. We’ll walk through the how, the what, and the get-it-done parts—all without fluff or tech talk that leaves you lost halfway through.
What Is ROCm and Why It Matters
First off, ROCm (Radeon Open Compute) is AMD’s open-source software platform that lets GPUs run heavy-duty compute tasks, like training or running large machine learning models. Think of it as the bridge between your GPU and the kind of code big AI models run on. Without it, you’re pretty much stuck unless you switch to NVIDIA.
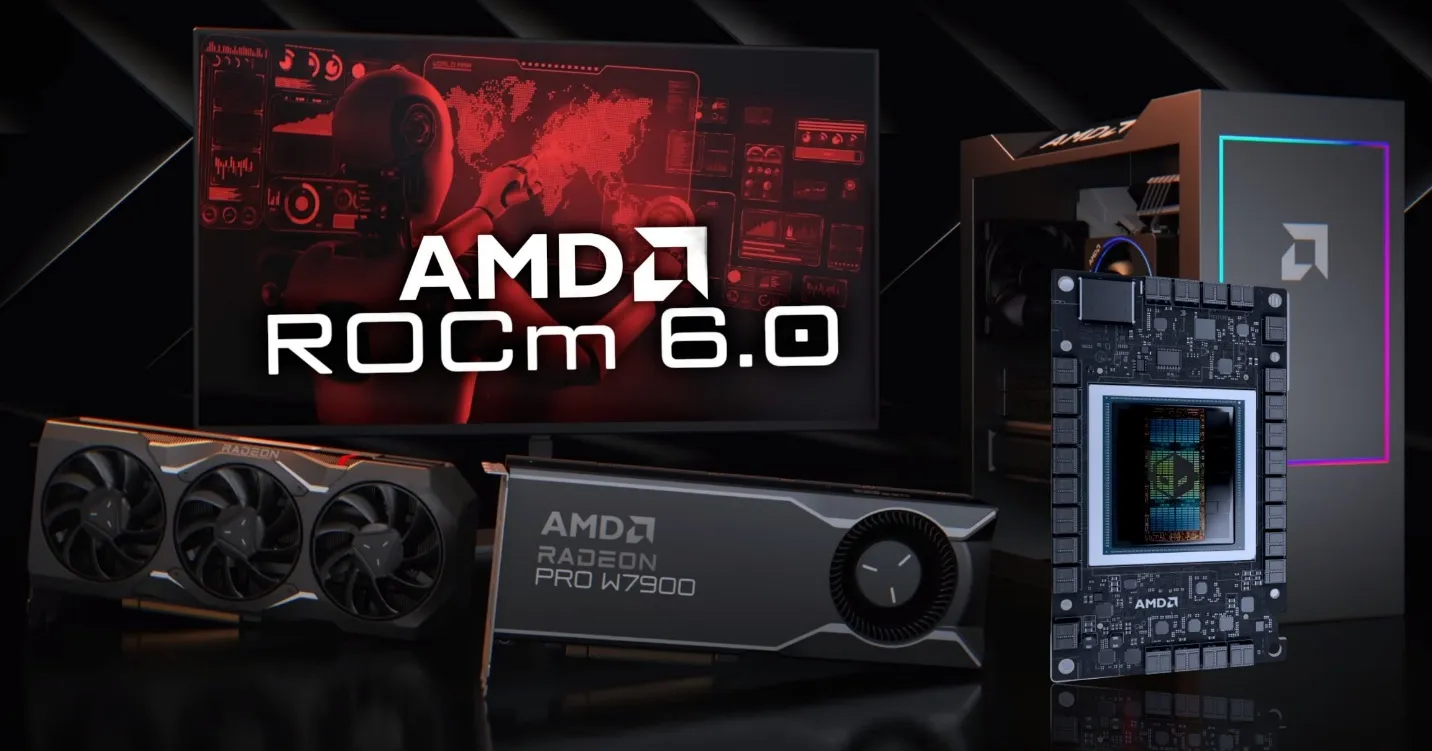
The good news? ROCm has grown up. It now supports PyTorch, TensorFlow, Hugging Face Transformers, and other libraries that matter in the world of chatbots. Better still, it doesn’t ask you to compromise performance, especially if you’ve got one of AMD’s newer GPUs like the MI210 or a high-memory RX 7900 XTX. So, instead of dreaming about cloud APIs, you can now run models right on your own system. Quietly. Locally. Privately.
Running a ChatGPT-like Chatbot on a Single GPU with ROCm
Getting Your System Ready
Before you dive in, there are a few things to line up. This part isn’t flashy, but it’s necessary.
Step 1: Check Hardware Compatibility
Not all GPUs are treated equally. ROCm doesn’t support every AMD GPU under the sun. You’ll need something like:
- Radeon RX 7900 XT / XTX
- Radeon Pro W6800
- Instinct MI200 Series
- Or other officially supported cards (you can check AMD’s ROCm docs for a full list)
Also, your system should be running on Linux—Ubuntu 22.04 is a safe bet. ROCm is Linux-only, so Windows folks will have to either dual-boot or use a VM with GPU passthrough (not beginner-friendly).
Step 2: Install ROCm
Here’s where most people trip, but don’t worry—it’s manageable.
sudo apt update
sudo apt install rock-dkms rocm-utils rocm-libs
After installing, make sure the environment variables are set. Usually, adding the following to your .bashrc file works:
export PATH=/opt/rocm/bin:$PATH
export LD_LIBRARY_PATH=/opt/rocm/lib:$LD_LIBRARY_PATH
Then reboot. Don’t skip that.
To check if it worked:
rocminfo
If it spits out details about your GPU, you’re golden.
Installing the Chatbot Stack
This is where the pieces start falling together. You’ll need a model, some libraries, and a way to chat with it.
Step 3: Pick a Model That Fits
We’re going to run a GPT-like model, but not something outrageously huge. For a single GPU setup, models like LLaMA 2 7B, Mistral 7B, or Phi-2 make sense. They balance performance and memory well.
For ROCm users, Hugging Face models that support PyTorch with ROCm backend are your friends. You can grab them like this:
from transformers import AutoTokenizer, AutoModelForCausalLM

model_name = "mistralai/Mistral-7B-v0.1"  # or another compatible model
tokenizer = AutoTokenizer.from_pretrained(model_name)
model = AutoModelForCausalLM.from_pretrained(model_name, torch_dtype=torch.float16)
Make sure to add device_map="auto" and torch_dtype=torch.float16 if you’re working with limited GPU memory. Models can run surprisingly well in 16-bit precision.
Step 4: Use PyTorch with ROCm
Here’s where things get different from the usual NVIDIA flow.
Set PyTorch to use your AMD GPU:
import torch
And don’t let the word “cuda” throw you off—PyTorch uses it generically, even when running on AMD under ROCm.
Step 5: Build a Simple Chat Loop
Now that the model and tokenizer are loaded, you can start chatting. Here’s a simple loop:
while True:
    prompt = input("You: ")
    inputs = tokenizer(prompt, return_tensors="pt").to(device)
    outputs = model.generate(**inputs, max_length=300)
    response = tokenizer.decode(outputs[0], skip_special_tokens=True)
    print("Bot:", response)
It doesn’t need a fancy UI—just plain Python and a terminal can get the job done.
Tuning Performance on a Single GPU
There’s no point in running a chatbot that takes five minutes to answer. Let’s fix that.
Use 4-bit or 8-bit Quantization
Smaller bit-widths can drastically lower memory usage without trashing model quality.
You can load quantized models with libraries like transformers and bitsandbytes:
from transformers import AutoModelForCausalLM, BitsAndBytesConfig

bnb_config = BitsAndBytesConfig(
    load_in_4bit=True,
    bnb_4bit_compute_dtype=torch.float16,
    bnb_4bit_use_double_quant=True,
)

model = AutoModelForCausalLM.from_pretrained(
    model_name,
    quantization_config=bnb_config,
    device_map="auto"
)
And yes—bitsandbytes supports ROCm now (you’ll need the latest build or a fork if the official one doesn’t work out of the box).
Limit Max Tokens
When generating responses, keep max_length or max_new_tokens realistic. If you ask it to write a 5,000-word essay, it will try. Set limits like this:
outputs = model.generate(
    **inputs,
    max_new_tokens=100,
    temperature=0.7,
    do_sample=True
)
That keeps replies quick and avoids chewing up memory.
Keep Other Apps Closed
Obvious, but easy to forget. If you’ve got browser tabs open, games running in the background, or anything else using GPU RAM, close them. Your model needs all the memory it can get.
Final Words
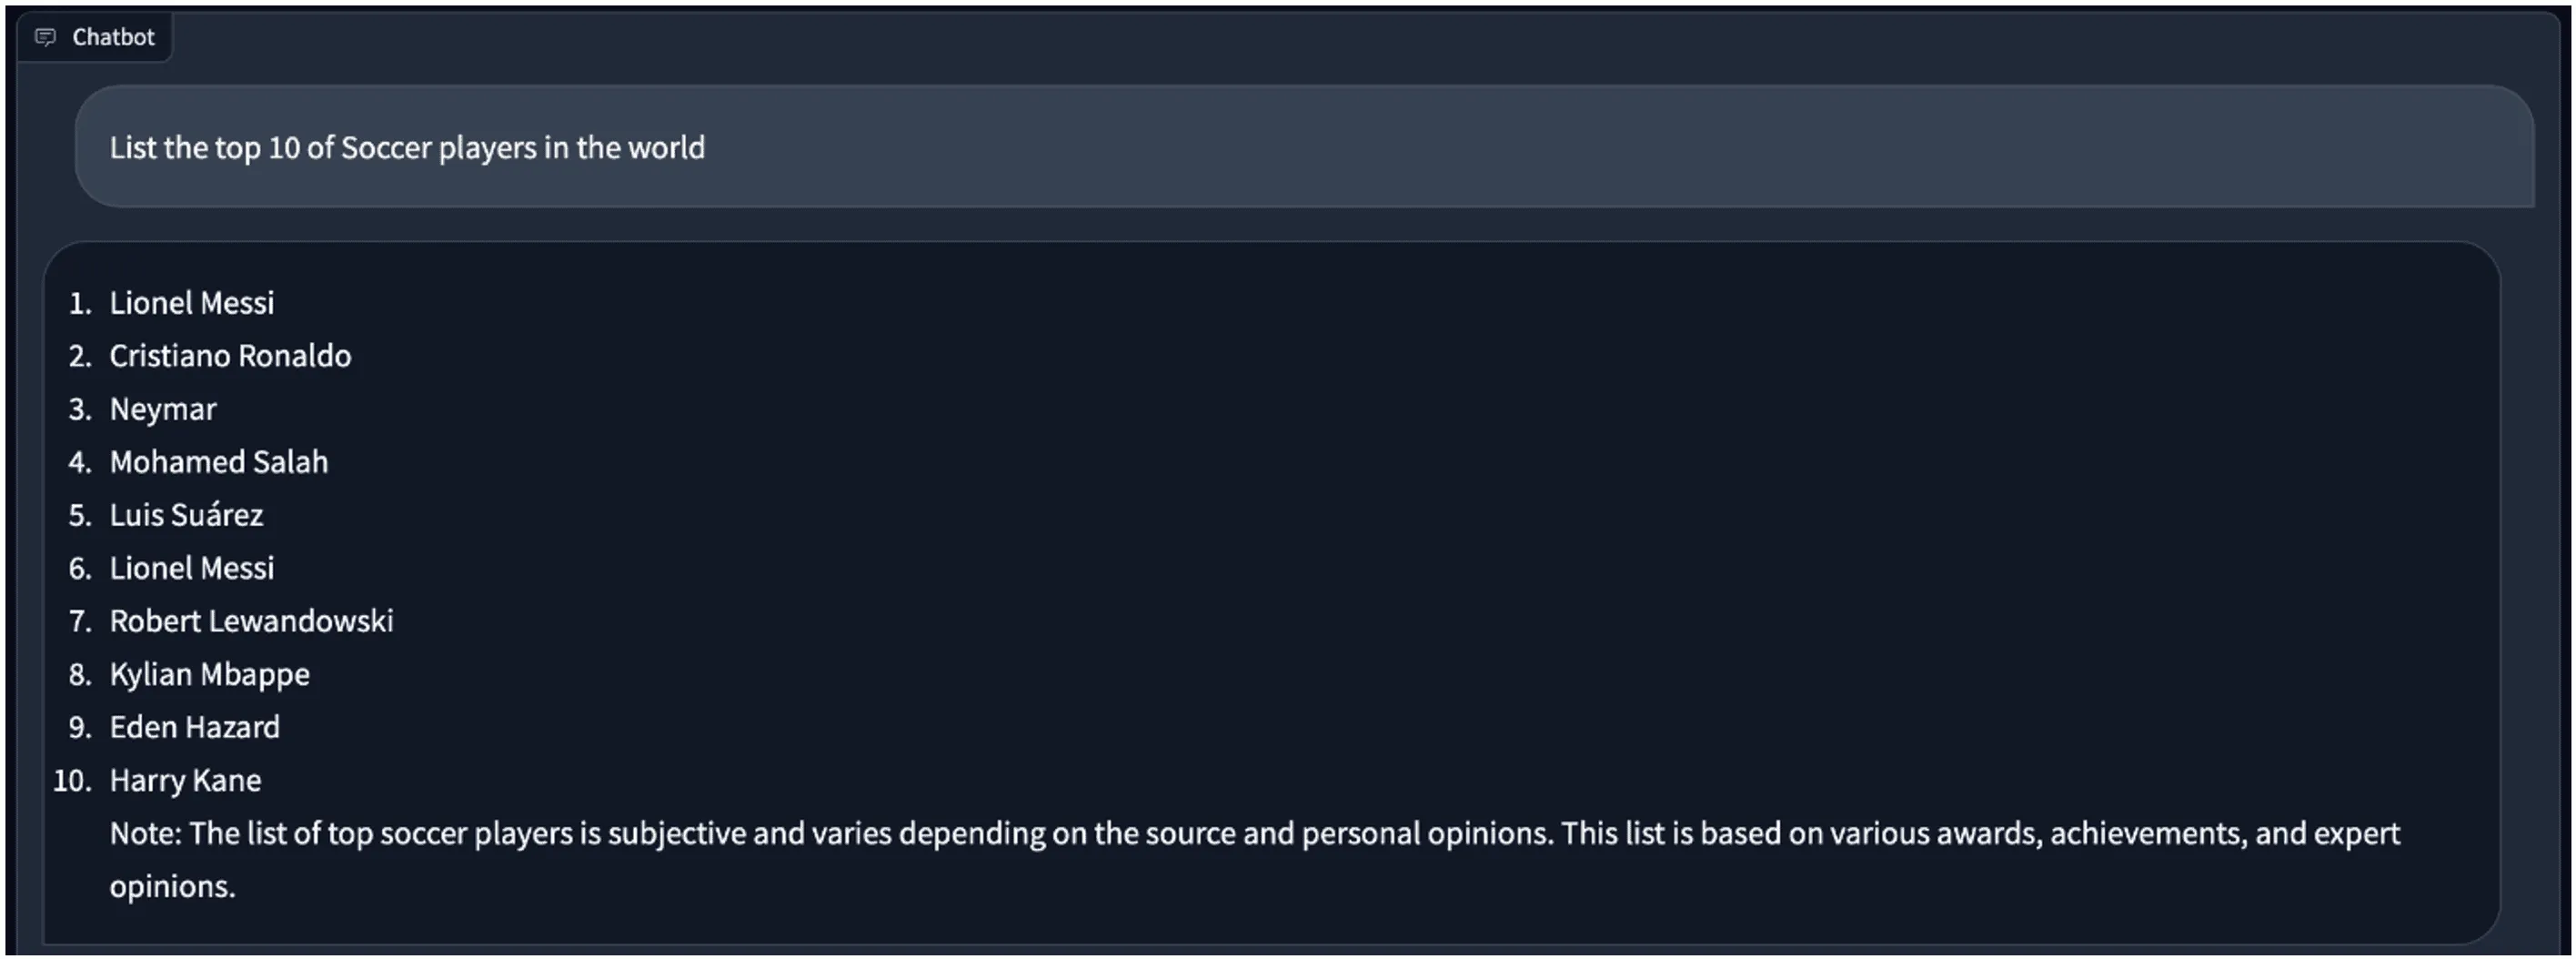
Running a ChatGPT-style chatbot on a single GPU with ROCm isn’t just possible—it’s smooth, surprisingly responsive, and doesn’t need you to sacrifice your weekend to set up. Once you’ve got the ROCm stack in place and a quantized model loaded, chatting with your own AI bot becomes an everyday thing. You control the data. You skip the monthly fees. And best of all, you get to say, “Yeah, I’ve got my own chatbot running locally.” You don’t need racks of servers or a PhD to make it work. Just the right tools—and now you have them.
For more information, you can visit AMD’s ROCm documentation or explore Hugging Face’s Transformers library.
 zfn9
zfn9


