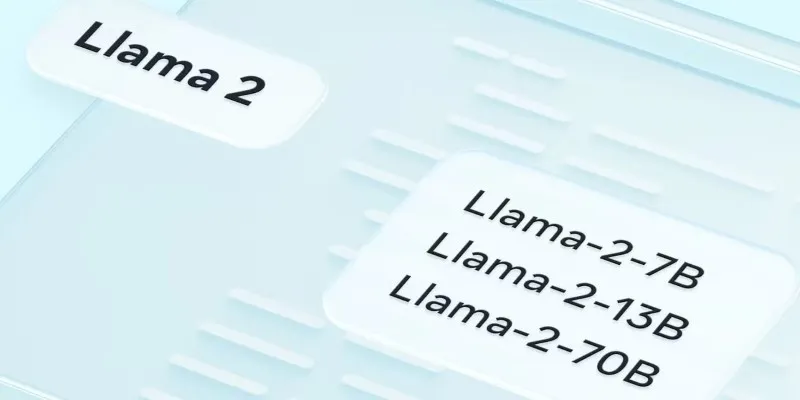
There’s been a lot of talk about Llama 2 lately and with good reason. It’s one of those open-source models that gives you more control over how things run. Whether you’re a developer, a hobbyist, or someone who just likes trying out tech firsthand, getting Llama 2 on your local machine can be a great experience. It means you can work offline, tweak things without waiting on cloud services, and get faster results when testing your ideas. So, how do you get started?
Without any further ado, let’s break it down without the fluff—just the steps, a bit of context, and a few tips to make things easier.
What You Need Before Getting Started
Before you even start the download, a few things should be ready on your end. Think of this like prepping your kitchen before baking. It saves time and prevents last-minute surprises.

Check Your System
Llama 2 is not lightweight. If you’re aiming for smooth performance, a machine with at least 16GB RAM and a modern GPU is your best bet. Llama 2 comes in several sizes—7B, 13B, and 70B. For local installs, most people go for the 7B or 13B model. They’re more manageable and still really capable.
Install Python and Git
Most of the tools you’ll use to download and run Llama 2 need Python and Git. Python 3.10 or higher is ideal. Git is needed to clone repositories quickly without downloading ZIPs and extracting things manually.
bash sudo apt install python3 git
On macOS, Homebrew works:
bash brew install python git
Set Up Virtual Environments
You don’t have to, but using a virtual environment keeps your Python packages organized. It avoids conflicts with other projects. If you’re not familiar with virtual environments, here’s a quick one-liner:
bash python3 -m venv llama_env && source llama_env/bin/activate
Once you’ve ticked all of this off, you’re ready for the download part.
Downloading the Llama 2 Model Files
Meta doesn’t just let you download Llama 2 with a single click. You need to fill out a form and agree to the terms, and then you’ll get access.
Request Access from Meta
Go to Meta’s official Llama 2 request page. Fill out the form, agree to their terms of use, and wait for the approval email. This usually doesn’t take long. Once you’re approved, they’ll send you links to the model weights and tokenizer files.
Pick the Right Model
You’ll get links to the 7B, 13B, and 70B versions. Choose based on your machine’s capacity. If you’re unsure, start with the 7B. It’s the smallest, easiest to set up, and still gives impressive results.
Download from Hugging Face
Once you’re cleared, you can pull the model files from Hugging Face. To do this, you’ll need to set up a Hugging Face account and use the transformers library or git-lfs.
bash pip install huggingface_hub
Then:
bash huggingface-cli login
Paste in your token from Hugging Face, and you’re ready to download. Use the model name provided in the approval message to pull the files.
Running Llama 2 on Your Machine
After downloading, the next step is to run the model. This is where the magic happens—turning those files into something that can understand and respond to your input.
Install Required Libraries
Most people use either the Transformers library from Hugging Face or Llama.cpp for smaller models. If you’re using transformers:
bash pip install transformers accelerate torch
And then load the model like this:
tokenizer = AutoTokenizer.from_pretrained("meta-llama/Llama-2-7b-hf") model =
AutoModelForCausalLM.from_pretrained("meta-llama/Llama-2-7b-hf") ```
### Prefer Something Lighter?
If you're working with limited resources, llama.cpp is a better choice. It's a
C++ implementation optimized for CPU use and low memory. Here's how you can
set it up:
#### Clone the Repo:
```bash git clone https:/github.com/ggerganov/llama.cpp cd llama.cpp ```
#### Build the Project:
```bash make ```
#### Convert Your Model:
Llama.cpp needs the model in a specific format. There's a conversion script in
the repo that can help you with that.
## Tips for a Smoother Setup
Getting everything up and running can be straightforward, but here are a few
small things that can make the process smoother.

### Watch the File Size
These model files are huge. Don't try downloading them over a shaky
connection. A stable network and enough disk space (50–200GB, depending on the
model) are your friends here.
### Use a GPU If You Have One
Even the 7B model can get sluggish on the CPU. If you have an NVIDIA GPU,
install CUDA and make sure your PyTorch install is GPU-compatible. You’ll feel
the difference.
### Start Small with Prompts
Once the model is running, don't throw massive prompts at it right away. Start
with something basic like:
```python prompt = "Explain how photosynthesis works." ```
and slowly increase complexity. That way, you can spot slowdowns or errors
early.
### Keep It Legal
This one's simple—don't use the model to generate anything that goes against
Meta's use policy. You agreed to it when you requested access, so stick with
it.
## That’s a Wrap!
Getting Llama 2 set up locally isn't hard once you break it down. It just
needs a bit of prep, some patience with the downloads, and the right tools.
Once everything's running, you've got a powerful language model on your
machine, no strings attached. Whether you're building something fun or just
testing ideas, having that kind of tool at your fingertips feels pretty solid.
Want to try something even smoother later? Keep an eye on community forks and
lighter versions—they’re popping up fast, and some of them work surprisingly
well on regular laptops. Hope you find this info worth reading. Stay tuned for
more comprehensive guides.
 zfn9
zfn9


