zfn9
zfn9
Getting rid of a background from an image used to be a task for people with photo-editing experience. Now, it’s something anyone can do in seconds. Whether you’re fixing up a product photo, prepping an image for your website, or just trying to remove the messy background behind your pet, tools like Erase.bg make it easy—and quick. Erase.bg is a free tool designed to remove backgrounds from images automatically. It works online, requires no downloads, and doesn’t ask you to tinker with brushes or masks. Just upload, wait a few seconds, and you’re done. It really is that straightforward. Here’s how to use it step by step.
How to Remove the Background of an Image Using Erase.bg
Step 1: Go to Erase.bg
Start by visiting the website: https:/www.erase.bg. The homepage will greet you with a simple upload section that’s impossible to miss. There’s no need to create an account or sign in. If your goal is a one-time background removal or even several, you can get started right away. On the homepage, you’ll see a button that says “Upload Image.” Click it.
Step 2: Upload the Image You Want to Edit
Once you click “Upload Image,” a file window will pop up. Here, you can choose the image you want to clean up. Erase.bg works with all common image formats—JPG, PNG, JPEG, and WebP. Whether your image is of a person, a pet, a product, or a random landscape, the tool recognizes the subject automatically and isolates it from the background. After you upload the photo, the tool takes over. There’s nothing else you need to adjust or set manually.
Step 3: Wait a Few Seconds for the Processing
Erase.bg will show a progress bar or a small animation while it processes your photo. This usually takes just a few seconds, depending on your internet speed and the complexity of the image. There’s no need to refresh the page or click anything while it works. What the tool does in this short moment is scan the image for the most prominent subject—like a person, an object, or even text—and remove everything else. The result? A clean, transparent background with your subject intact.
Step 4: Preview and Download the Result
Once the background has been removed, you’ll see a side-by-side preview. The original image will be on the left, and the edited version—with the background removed—will be on the right. If it looks good to you, click the “Download” button below the edited image. The file will be saved in PNG format, which supports transparency. That’s especially useful if you’re planning to layer this image over a different background or use it in presentations, designs, or websites. The download happens instantly and doesn’t require you to sign up. You now have a background-free version of your image ready to use.
Optional Adjustments (If Needed)
If the automatic cutout isn’t perfect—and that can happen sometimes, especially if the background is similar in color to the subject—there are a few extra options.
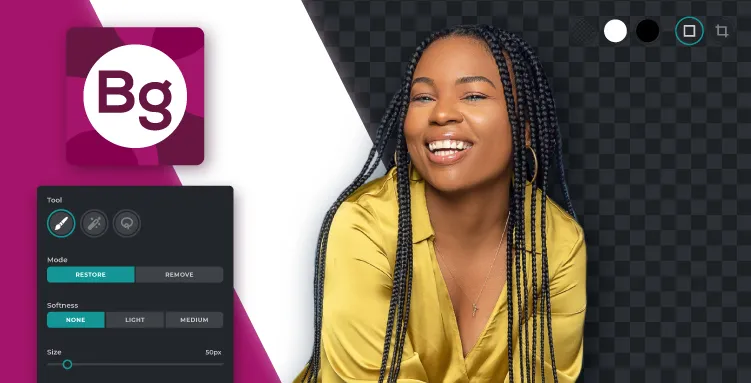
Using the “Edit” Button
Below the preview, there’s often an “Edit” or “Refine” button. This leads you to a light editing interface. You’ll get basic options like restoring parts of the image that were removed by mistake or erasing anything left that shouldn’t be there. It’s very beginner-friendly: no layers, no complicated brushes, just simple touch-ups with the click of a mouse or tap of a finger.
This step is optional. For most images, the automatic cut is good enough. But if you’re aiming for precision—maybe for a store listing or professional use—it’s a helpful extra tool.
What Makes Erase.bg Worth Using?
There are dozens of background removal tools out there. Some charge fees and others come with learning curves. Erase.bg skips both. Its focus is on simplicity, which is what most people want: just upload, wait, and download.
A few small things that help:
No software needed : Everything works in the browser.
Quick results : It’s all done in seconds.
Free : You can remove backgrounds without limits or signups.
Works on mobile and desktop : If you’re using your phone, the process is just as smooth.
That’s what makes Erase.bg a go-to for small business owners, freelancers, and even casual users. Whether you’re prepping a logo, cleaning up your social media images, or building slides, this tool takes care of the technical part for you.
When It’s Not a Good Choice?
This tool fits a variety of needs:
Product photos : Perfect for e-commerce platforms where you need a white or transparent background.
Profile pictures : Use the same image across platforms with cleaner edges.
Graphic design : Add your subject to custom templates or graphics without messy edges or leftover bits.
Presentations : A clear image without a background helps you keep things tidy in slides and documents.
Social media posts: Create clean visuals for stories, banners, or thumbnails without distractions in the background.
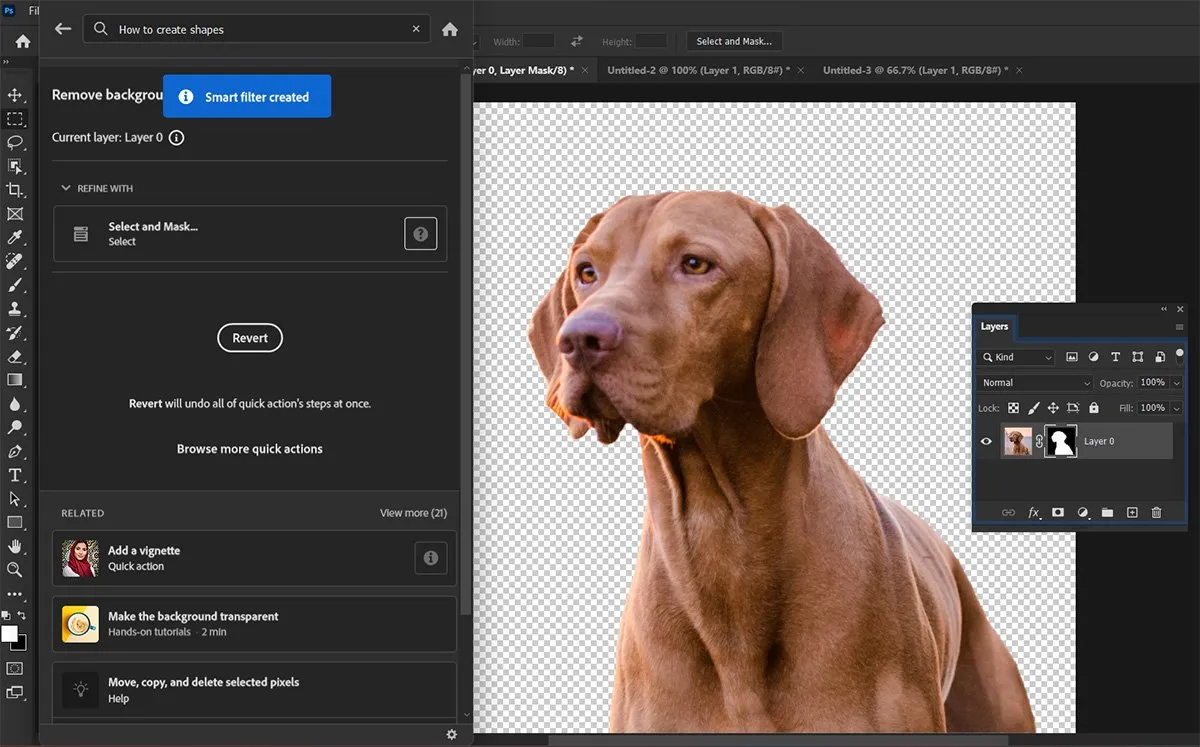
The biggest benefit is that you don’t need to know how to use tools like Photoshop. Erase.bg does the job in one go.
Final Thoughts
Not everyone has the time or skill to sit down and manually erase backgrounds from images. Erase.bg removes that step completely. It’s free, fast, and gets the job done without needing you to watch a tutorial or install anything. Whether you’re handling one image or a dozen, it makes the process easier. Upload your photo, wait a few seconds, and you’re good to go. No frills, no fuss—just a clean, clear image without the background. If you’re working with product images, it saves hours you’d otherwise spend editing. For casual users, it’s a great option when you want something quick and decent without spending a dime. There’s nothing technical to figure out.