zfn9
zfn9
Imagine a world where your application can understand language as fluently as a human—and even translate it into another language instantly. Sounds futuristic? Thanks to LangChain and its elegant LangChain Expression Language (LCEL), it’s entirely possible today.
This post will explore how to build a simple, modular LLM (Large Language Model) application using LCEL—specifically for translating English to Japanese. It isn’t just a translation app; it’s a blueprint for any AI workflow involving language models. If you’re curious about how to build your first LLM-powered app using LCEL, you’re in the right place.
Understanding LCEL: The Heart of the Workflow
LangChain Expression Language (LCEL) is the core innovation that makes our LLM app both simple and powerful. Unlike traditional procedural code, LCEL uses a pipeline approach where each component hands off its result to the next using the | (pipe) operator.
Here’s how LCEL improves development:
- Modular by Default: Each component (prompt, model, parser) is independent and replaceable.
- Composable: You can mix and match components to create new chains quickly.
- Readable Logic Flow: It mirrors natural language: “Use this prompt → process it with the model → parse the result.”
- Better Testing: Components can be tested individually, making debugging easier.
This approach is especially powerful in LLM applications, where the sequence of input formatting, model inference, and output handling determines your app’s accuracy and usefulness.
Key Components of a Simple LLM Application
Before diving into code, it’s important to understand the basic structure of any LLM application built with LCEL. Here are the core building blocks:
- Prompt Template: It defines how you want to communicate with the language model. It can be dynamic (with user input) or static. In our case, it’s a template for translating text from English to Japanese.
- Large Language Model (LLM): It is the engine that processes the prompt and generates the output. We’re using OpenAI’s GPT-4 for its advanced multilingual capabilities.
- Output Parser: Since LLMs can return metadata or complex formats, the output parser helps extract just the part you care about—usually plain text.
- LCEL Chain: It is where the magic happens. LCEL lets you combine the above components into one streamlined pipeline that handles everything from input to output.
By separating these concerns, your app stays simple, testable, and scalable—perfect for both prototyping and production.
Step-by-Step Guide to Building an English-to-Japanese Translator with LCEL
This post will walk through the whole process:
- Install dependencies
- Set up the GPT model
- Create a structured prompt
- Parse model outputs
- Chain everything using LCEL
- Deploy with LangServe
- Interact with your API
Step 1: Install the Required Libraries
Start by installing the libraries that will power your app.
pip install langchain langchain-openai fastapi uvicorn langserve[all]
Make sure you have an OpenAI account and API key ready.
Step 2: Authenticate and Initialize the LLM
Instead of using raw prompts, we’re going to securely set up our environment and create a reusable LLM instance.
import os
from langchain_openai import ChatOpenAI

# Securely store your API key
os.environ["OPENAI_API_KEY"] = "your_openai_key_here"

# Initialize the language model (GPT-4 or GPT-3.5)
llm = ChatOpenAI(model="gpt-4")
Step 3: Create a Structured Prompt
To make the app flexible, we’ll use a dynamic prompt template.
from langchain_core.prompts import ChatPromptTemplate

prompt_template = ChatPromptTemplate.from_messages([
    ("system", "You're a translator. Convert the user's input from English to Japanese."),
    ("user", "{input_text}")
])
This template allows you to easily swap out the English input without modifying the structure.
Step 4: Parse the Output
Language models return more than just plain strings. Let’s focus only on the core translation using a parser:
from langchain_core.output_parsers import StrOutputParser

parser = StrOutputParser()
It ensures that any formatting or metadata is stripped out—giving you just the clean result.
Step 5: Chain Everything Using LCEL
LCEL makes the chaining of these components both elegant and readable:
# Compose the complete workflow using LCEL
translation_chain = prompt_template | llm | parser

# Test the chain with a sample input
output = translation_chain.invoke({"input_text": "Good morning! Have a great day."})
print("Japanese Translation:", output)
This pipeline is composable, reusable, and easy to scale. You can plug in additional steps like validation or logging without breaking the flow.
Step 6: Add Debugging with LangSmith
LangSmith helps you trace your chain step-by-step. Here’s how to enable it:
import getpass

os.environ["LANGCHAIN_TRACING_V2"] = "true"
os.environ["LANGCHAIN_API_KEY"] = getpass.getpass("Enter LangSmith API key: ")
Now, every step of your LCEL workflow is logged and visualized through LangSmith’s interface.
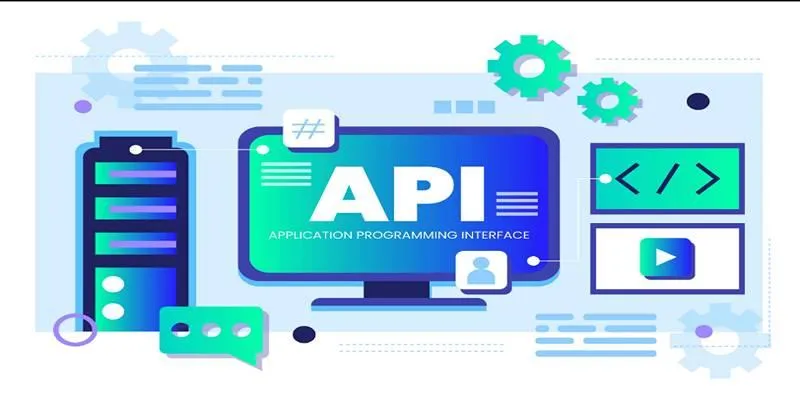
Step 7: Deploy the App Using FastAPI and LangServe
You’ve got a working app—but what if you want others to use it? Let’s deploy it as a REST API.
Create a file named translator_api.py:
from fastapi import FastAPI
from langchain_openai import ChatOpenAI
from langchain_core.output_parsers import StrOutputParser
from langserve import add_routes
import os

# Load your API key
os.environ["OPENAI_API_KEY"] = "your_openai_key_here"

# Set up LangChain components
llm = ChatOpenAI()
parser = StrOutputParser()
prompt = ChatPromptTemplate.from_messages([
    ("system", "Translate the following English text into Japanese."),
    ("user", "{input_text}")
])

# Compose the translation chain
translation_chain = prompt | llm | parser

# Set up FastAPI with LangServe
app = FastAPI(title="English to Japanese Translator", version="1.0")
add_routes(app, translation_chain, path="/translate")

if __name__ == "__main__":
    import uvicorn
    uvicorn.run(app, host="0.0.0.0", port=8000)
Step 8: Run the API Server
Now launch your app:
python translator_api.py
Navigate to http:/localhost:8000/translate/playground to test your app using LangServe’s visual playground.
Step 9: Programmatically Interact with Your API
Once deployed, you can interact with it from another app or script:
from langserve import RemoteRunnable

# Connect to your locally running API
api = RemoteRunnable("http:/localhost:8000/translate/")
result = api.invoke({"input_text": "How are you today?"})
print("API Result:", result)
It makes it easy to plug your translator into larger systems like chatbots, CRMs, or mobile apps.
Conclusion
Building a simple LLM application with LCEL opens up exciting possibilities for creating intelligent, language-aware tools with minimal complexity. By chaining together prompts, models, and parsers, developers can design clean, modular workflows that are both powerful and easy to maintain. This post walked you through creating an English-to-Japanese translator, but the same principles apply to countless other applications. With LangChain and LCEL, you can scale your ideas from a simple script to a fully deployed API in no time.